How To
How to merge layers in Photoshop: 5 ways

- October 1, 2022
- Updated: July 2, 2025 at 3:24 AM
Layers in Photoshop have several valuable applications. And this unique feature is primarily what distinguishes the software from the basic photo editing application included with your standard operating system. Layers allow you to do things like composite multiple images into one document, overlay text, and introduce vector graphic shapes to your image without significantly degrading your original file.
Understanding how to manage the Layers in Photoshop is the best approach for maximizing the application’s impressive design capabilities. Familiarizing yourself with Layers will also help you deliver stunning, professional-looking results after minimal effort. In this brief tutorial, you’ll learn how to merge layers in Photoshop documents. First, make sure you download Adobe Photoshop.
Merge multiple layers from the layers menu
Any Layers-based project in Photoshop will, by definition, have at least two layers. Adobe engineered the program this way to let you work with specific elements of your image without changing the others. This type of workflow is considered a non-destructive approach to digital image editing because it helps preserve your file’s original characteristics.
Once you’ve finished all your edits in your project, you’ll need to merge any layers that no longer require individual attention. This point could mark the completion of your project or just a specific stage. Merging the multiple layers ultimately reduces the overall size of your image file and makes your Photoshop project easier to manage.
To merge multiple layers, start by ensuring all your layers are visible in the Layers Panel. To show or hide your layers, press Alt + the Layer Visibility icon for Windows or Option + the Layer Visibility icon for Mac. This shortcut lets you toggle between hiding and revealing every layer in your current project.
After you’ve set all your layers to visible, you’ll notice they each have Eyeball icons enabled to the left of the layer name. If you can see these graphics, then all your layers are visible. An empty checkbox means the layer is marked hidden. Click the empty boxes to add the Eyeball and render the layers visible.
Next, choose the layers you wish to merge. You don’t have to combine them all, and you can continue adding new layers to your project after bringing them together. To merge your layers, hold down Ctrl on your keyboard while selecting each layer you want to merge.
If you’ve grouped your layers, follow this same procedure to merge these sets. They will conjoin as a single layer. After the layers merge, the Layers Panel will display the merged file as the topmost layer and retain the same name as the initial primary layer in your project.
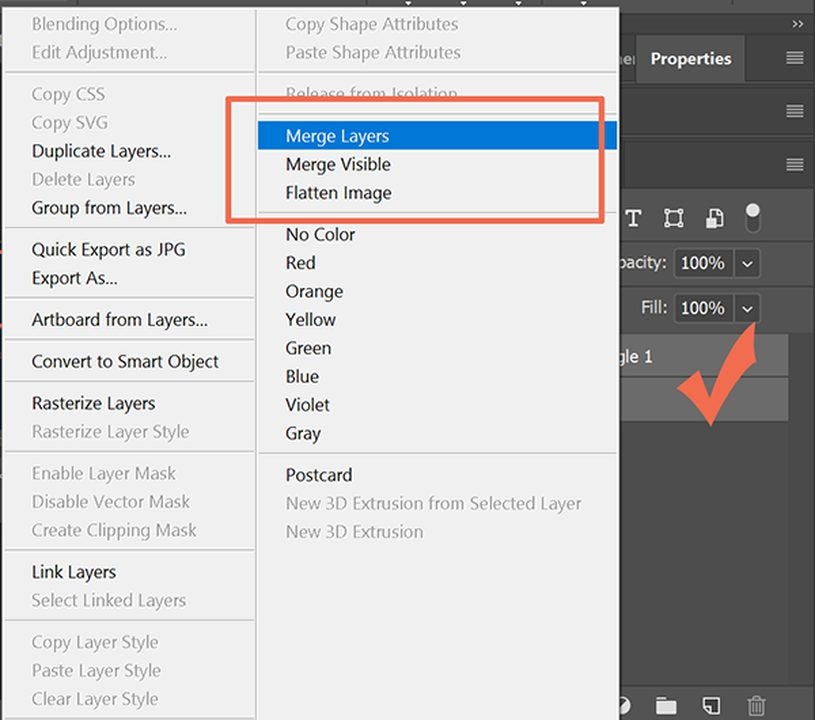
Navigate to the Layer menu option at the top of your screen. From the dropdown list select Merge Layers. Alternatively, you can type in the shortcut Ctrl + E to execute this same step. Your selected layers will now coalesce into one, retaining all the previous edits you made thereto.
Merge all layers
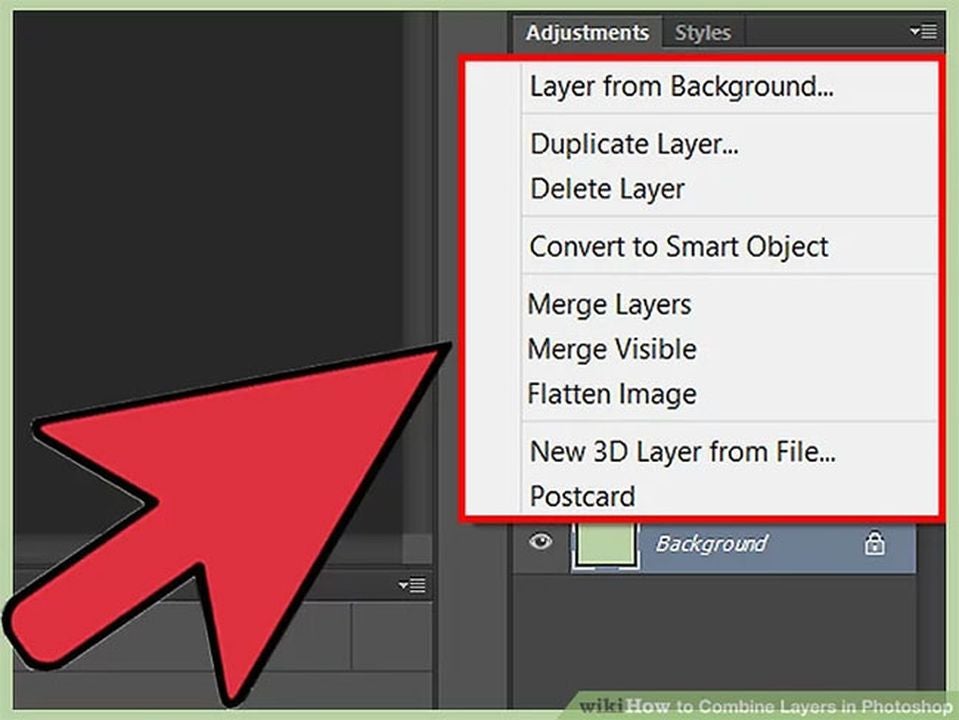
Follow the steps above to confirm all your layers are visible. Remember, the Eyeball icon indicates whether or not they’re hidden. Select the layer menu at the top of the screen and, from the dropdown, click on Merge Visible.
The shortcuts for this step are Ctrl + Shift + E on a Windows device or Cmd + Shift + E on a Mac. This action will merge all your visible layers. If you need to merge any hidden layers, choose Flatten Image from the layers menu instead.
Combine selected layers into a new layer

Again, confirm all your layers are marked visible. The nice thing about the Photoshop Layers feature is that it allows you to merge your existing layers in multiple ways without impacting the ones you want to leave alone. This comes in handy when you’re working on a complex project that requires several layers or more.
To combine a select set of layers into a new one, press Ctrl + Alt + E on your PC or Cmd + Option + E for Mac. This will generate a new layer containing all the elements and edits of the layers you chose to merge.
Merge within a clipping mask
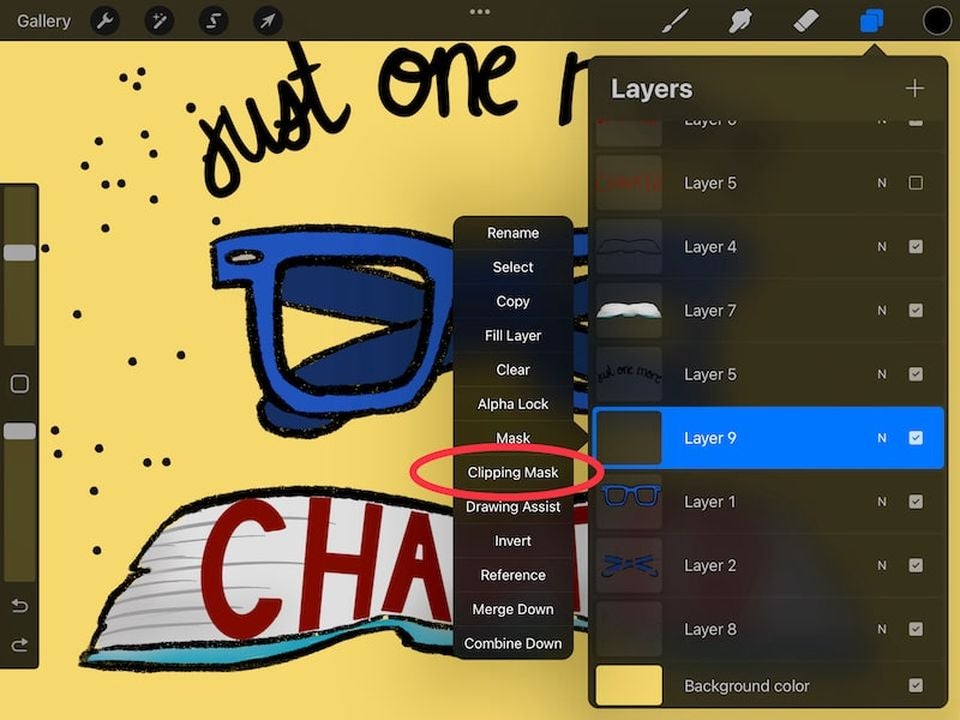
Working with a Clipping Mask means you are dealing with a group of layers with a mask applied to it. This method of merging requires you to hide any layers you want to keep unmerged.
To hide your layers, uncheck the box to remove the Eyeball icon. Now, navigate to the bottom layer in the Clipping Mask with the underlined name. Select Layer from the menu bar at the top of your monitor. Scroll down to Merge Clipping Mask or press Ctrl + E to combine all your Clipping Mask layers into one.
Alternative approaches to merging layers
One way to combine your layers without actually merging is to link them. This will allow you to continue editing the layers as one. When you link a set of layers, any adjustments you make to individual layers will apply to all its other connected layers. To link them, select the layers you want to connect before clicking the Link icon in the layers panel.
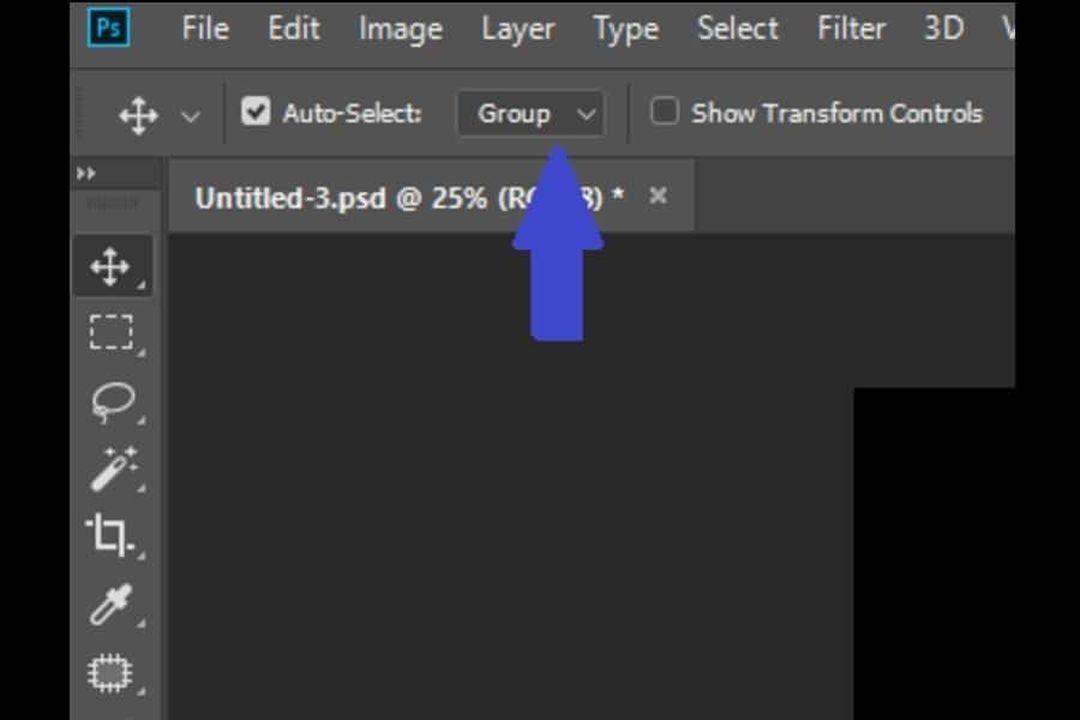
You can also create a Layers Group in Photoshop. This will have a similar effect as merging or linking the layers. To create a Layers Group, press Cmd + Shift + G on your Mac or Control + Shift + G if you’re running Photoshop on a PC.
Organize your design projects better with Photoshop layers
Layers in Photoshop might seem tricky at first, but familiarizing yourself with how they work and using them frequently is the only way to optimize your projects. The Layers feature offers an efficient way to organize your work, and it allows you to deliver impressive results with the least amount of hassle. For more info on Adobe innovations, read about Photoshop and its latest updates.

You may also like
 News
NewsDo you play 'Final Fantasy XIV' on your PS4? You might be running out of time
Read more
 News
NewsThe spin-off of 'The Office' received unexpected support from the biggest star of the original series
Read more
 News
NewsNintendo is selling the Switch 2 much faster than the first console, but they don't know how long it will last
Read more
 Article
Kevin Spacey can't stop causing trouble: in his next movie, he has teamed up with a crypto scammer
Read more
 News
NewsThe world has asked the president of the jury of the Venice Film Festival to condemn the massacre in Gaza. He has not been able to
Read more
 News
NewsAfter Jeffrey Dahmer, 'Monster' will tell the life of Ed Gein, and it already has a release date and first images on Netflix
Read more