Since its inception, Photoshop has always used layer masking to hide or expose elements of an image while letting you apply edits to each specific layer. Yet most Photoshop users who haven’t been formally trained on the program still use the application just like they would any other basic photo editor. So, why use layer masking when editing your images in Photoshop?
Layer masks allow you to nondestructively hide or disengage adjustments to an image without erasing them. Photoshop masking layers are also the most effective tools to make advanced edits to your photos, such as image composites, object removal, and background modifications for the most professional-looking results. Layering in Photoshop lets you target specific portions of your images and apply edits to those areas. In this tutorial, we’ll cover how to use layer masking in Photoshop while underscoring a few ways to make your layering workflow more efficient.
Create a layer mask
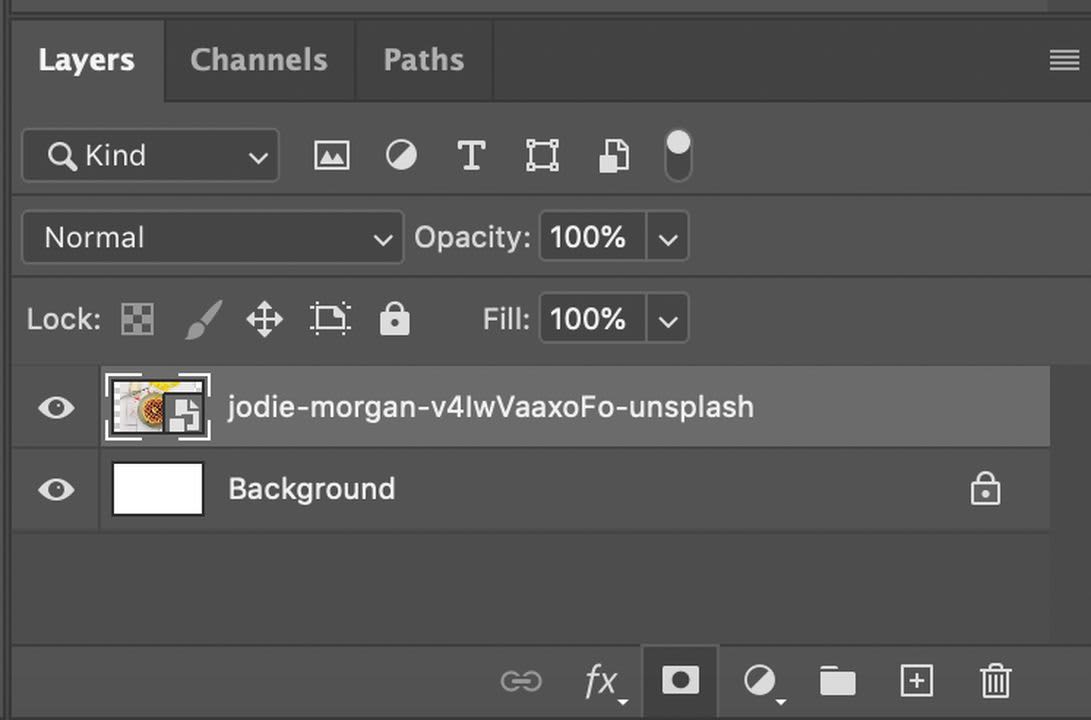
Creating a layer mask in Photoshop isn’t complicated. Start by locating the Layers panel to begin a new layer. If you’re running Photoshop on a Mac, the keyboard shortcut for this is Shift+Cmd+N. On Windows, type Shift+Ctrl+N in sequence to select a new layer. Now add the image you wish to edit.
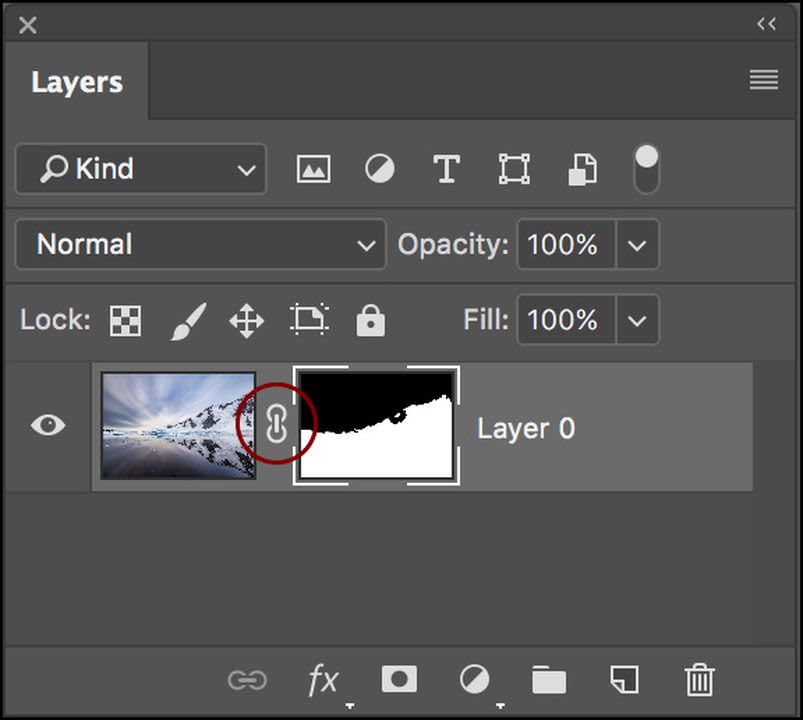
Click the Add layer mask button next. It’s located just below the Layers panel. You’ll notice a white layer mask thumbnail appear on the selected layer. This feature shows you all the layer’s elements.
Add black to conceal
In the Layers panel, choose the layer masks to set it as your active layer. Now select the brush tool, making black the preferred foreground color. The keyboard shortcut for the Brush selection tool is the letter B. You can also find the Brush picker under the Options bar, where you choose the size and hardness of your brush.
Press the letter D on your keyboard to make white and black the default colors in your toolbar. Now type X to switch the colors and fill in your foreground with black. With the Brush tool, paint over any portions of the image you want hidden. It’s worth mentioning brush selection here matters. A sharp-edged brush helps you create a distinct line between the opaque and transparent image elements, while a broader, softer brush makes it easier to create a fade.
When you paint over the image with your brush, you’re adding black to the individual layer mask you created. The black effectively conceals the layer mask so you can see the additional layer below, reflected in a checkerboard pattern that tells you it is set to Transparent mode.
Add white to your layer mask to reveal
Adding white to a layer mask exposes the layer containing the mask itself. Use the Brush tool to paint with white on a layer mask to show any elements you previously concealed with black on the layer mask.
Use the letter X keyboard shortcut to toggle between the foreground and background colors in the Photoshop Toolbar. Now, make the foreground color white. With your Brush tool, paint over the hidden layers of your image and add white to the layer mask. This effectively brings the exposed corresponding areas of your mask back into view.
Refine your layer masks

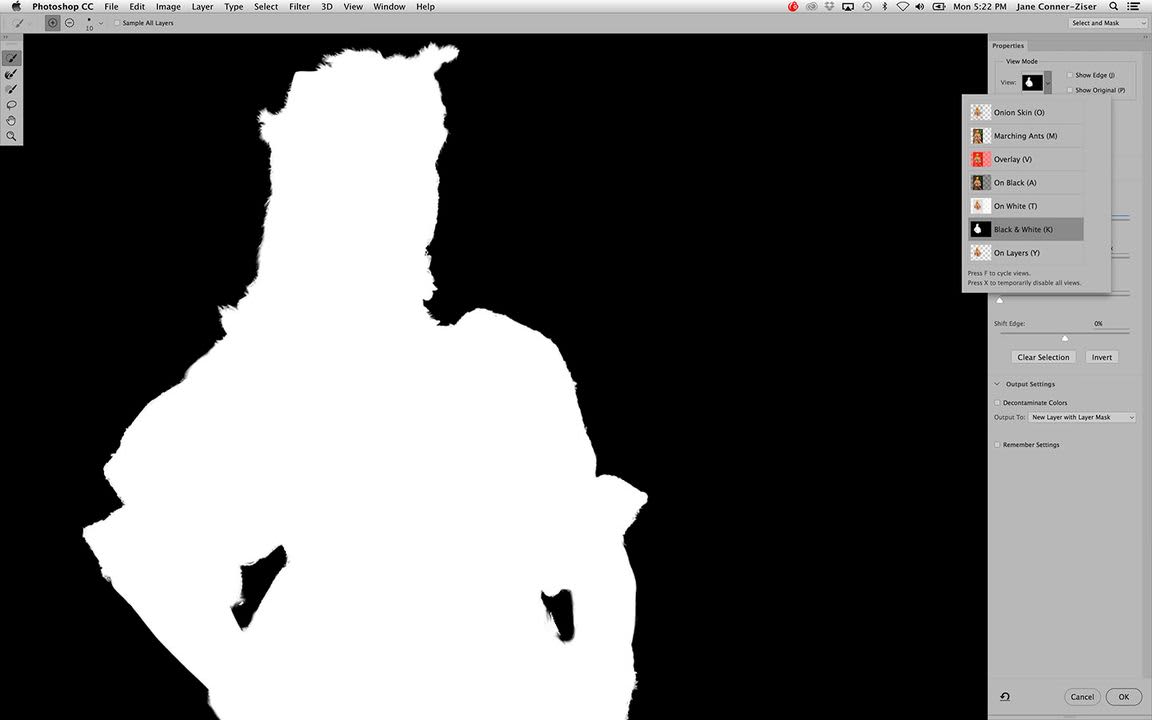
To fine-tune your layer, locate an element you want to isolate, and ensure you’ve selected this layer in the Layers panel. Engage the Quick selection tool by typing W on a Mac or SHIFT + W on your Windows device if the W key alone doesn’t pull up your Wand and other quick selection options.
Pick your preferred selection tool. You can use either the Wand or Quick Selection tool — whichever is most effective for your purposes and helps you make the most accurate selection. Next, in the Layers panel select the Add layer button. You’ll notice the resulting layer is black in the areas outside your selected object and that the background is now hidden. Your mask edging may not be perfect, but we’ll get to how you should address that in a moment.
Use the Properties panel controls to modify and enhance your layer
Confirm you’ve highlighted the layer mask you’re working on within the Layers panel. Now start experimenting with the available controls under the Properties panel. If this panel isn’t visible, navigate to Window at the top of your screen and select Properties from the dropdown menu options.
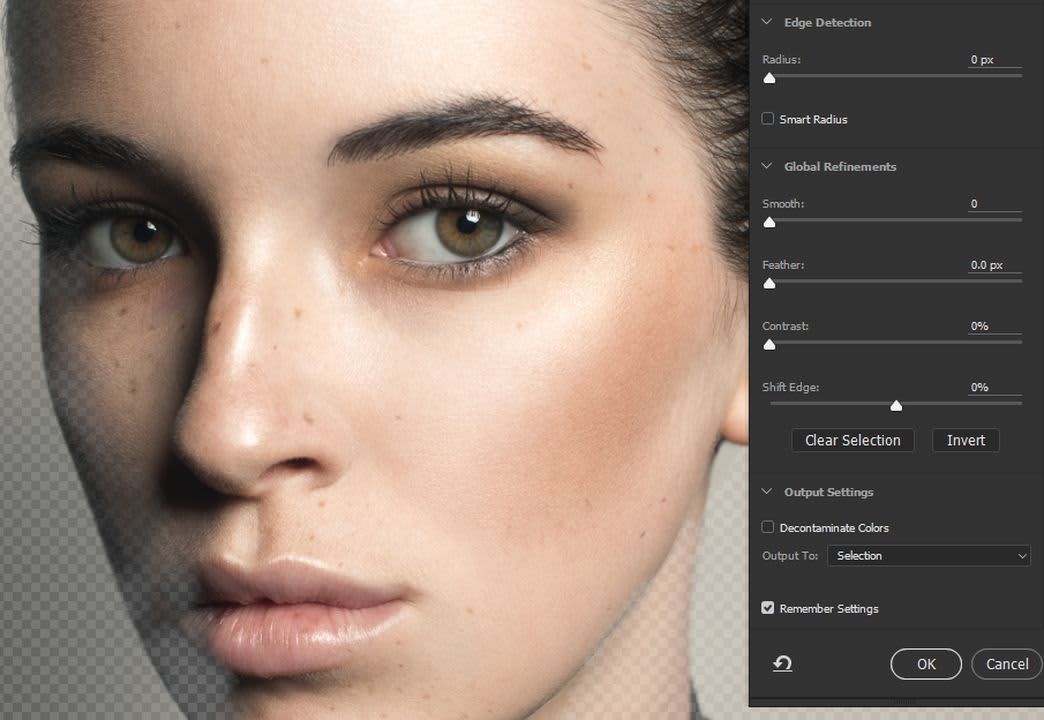
Within the Properties panel, locate the Density slider and drag it slightly to the left the increase your layer’s transparency. You will notice the partially concealed portions of the masked layer. To refine your mask edging, use Feather slider just off to the right. This tool helps soften your mask layer edges, blending your subject more naturally with the underlying layer.
Save your work in Photoshop
At this point, you made several changes to your file, and you want to make sure you save your project. Saving the image file in .PSD or TIFF format retains the mask layers and lets you continue working later on. To create any new layers, follow and repeat the steps listed above.
Image layering in Photoshop is efficient and gives you more flexibility
Photoshop is a complex design application. It takes a lot of know-how to get the most out of this software. Understanding layer masking in Photoshop is important because it’s one of the most effective tools for increasing workflow efficiency. Layer masking allows you to isolate and hide parts of the image as you make changes without ever reloading the file and starting from scratch. Looking for some more Photoshop tips? Check out our guide to the latest updates in Photoshop.